How to Do The Fit Steps of Injection Mold Parts?
The assembly of injection mold parts is the core link that determines the final performance in mold manufacturing. This process not only requires technical experience, but also relies on systematic thinking and extreme control over details. Whether it is a small precision mold or a large complex structure, the precision of each operation directly affects the lifespan and production efficiency of the mold.
The basic preparation before assembly is the key to success. All injection mold parts must undergo strict cleaning to remove any machining debris, oil stains, or rust resistant coatings. For high-precision components such as cores and cavities, it is recommended to use ultrasonic cleaning machines for deep treatment to ensure that the surface is free of microscopic particles. At the same time, use a coordinate measuring instrument or laser scanning equipment to recheck the key dimensions and confirm that the tolerances meet the design requirements. For example, the clearance between the guide post and the guide sleeve should be controlled within 0.005-0.01 millimeters to avoid displacement or wear during mold clamping.
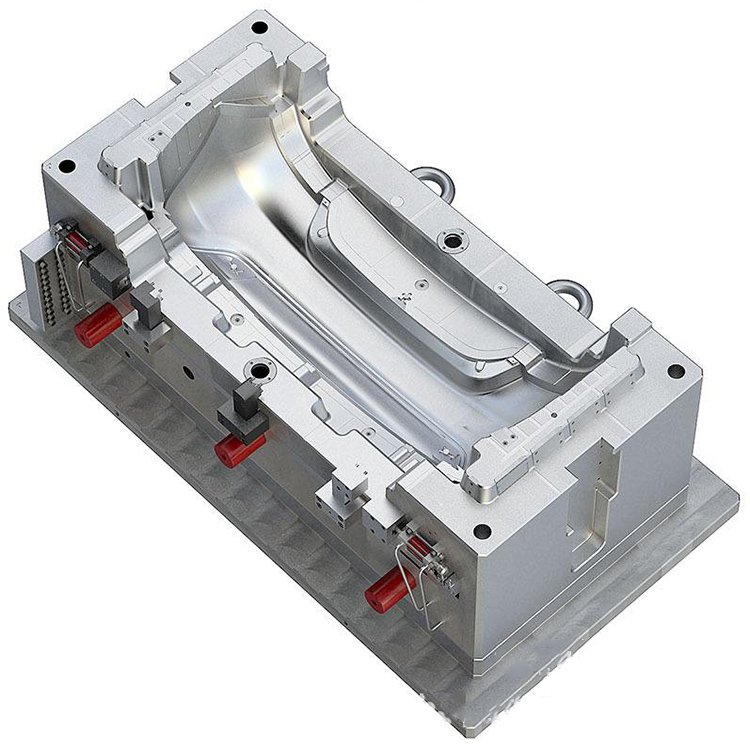
The assembly sequence must follow the design logic. Usually, starting from the fixed part of the mold, the template, guide column system, and cavity module are installed in sequence. During the installation process, attention should be paid to balanced application - for example, when fixing large templates, gradually locking bolts diagonally can effectively prevent template deformation caused by uneven stress. For embedded parts such as sliders or slanted tops, high-temperature grease should be applied to the contact surface in advance to reduce the risk of wear during the initial running in stage.
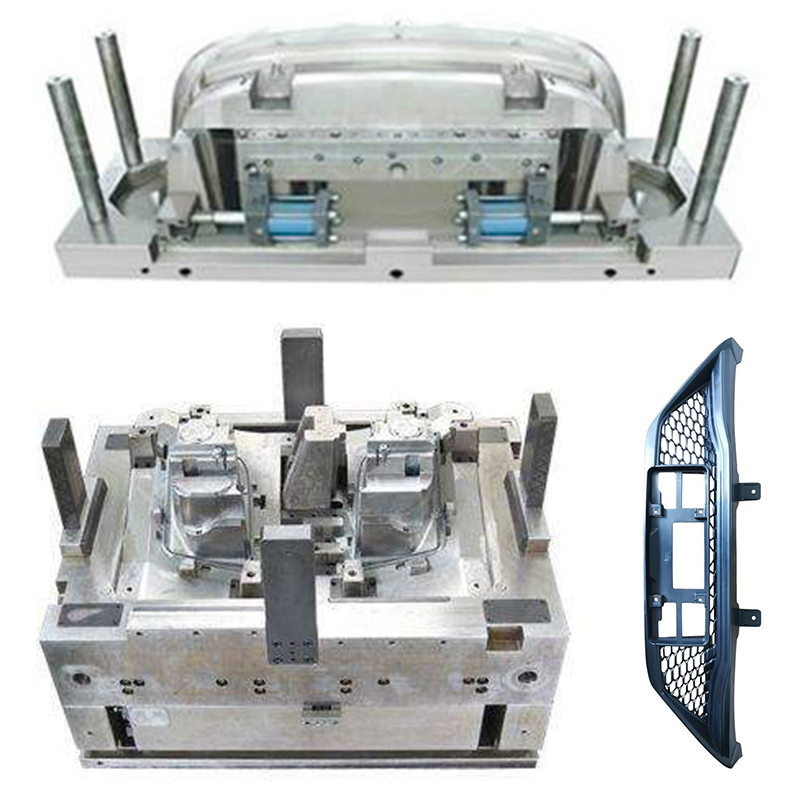
The debugging of moving parts is the core difficulty of assembly. Taking the slider mechanism as an example, its motion trajectory needs to perfectly match the opening and closing angle of the mold. Engineers often use the "red lead detection method" to verify: apply developer on the contact surface of the slider, manually simulate the opening and closing action, and judge whether the contact is uniform through residual traces. If unilateral wear occurs, the machining accuracy of the guide groove needs to be adjusted or repaired by welding. The installation of the ejector pin system requires attention to the matching of the ejection stroke and the reset spring, ensuring a smooth ejection process without any jamming, and completely sealing the parting surface during reset.
The integration of cooling systems is often overlooked, but it directly affects the injection molding cycle. The connection of the waterway must use a fast plug joint with excellent sealing performance, and undergo a pressure holding test under 0.6-0.8MPa pressure to ensure no leakage. For multi-layer nested conformal waterways, it is necessary to use an endoscope to check the internal cleanliness to avoid blockage caused by welding slag or processing debris residue. Experience has shown that a 10% increase in cooling efficiency can shorten the injection molding cycle by about 8%, which is of great significance for cost control in mass production.
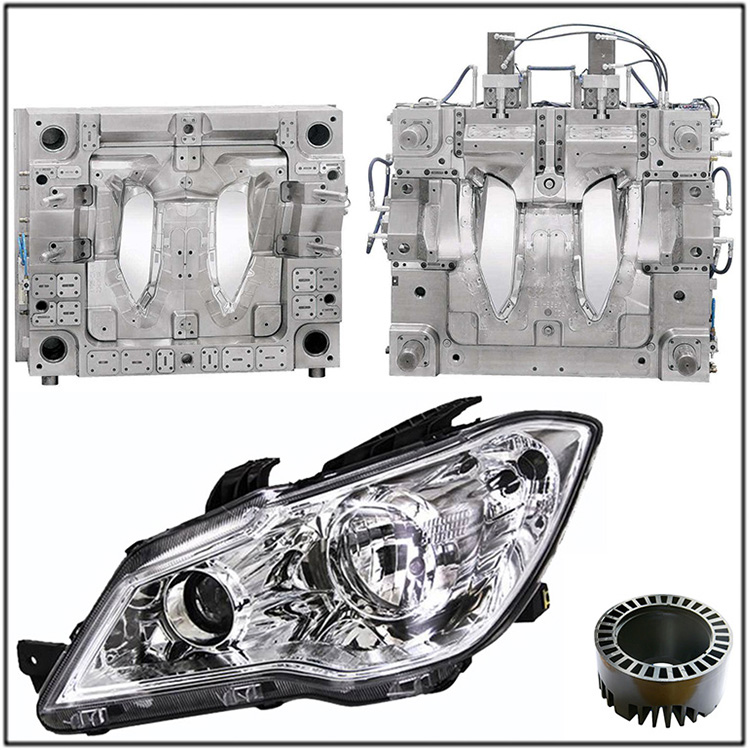
The final full mold debugging is the ultimate step in verifying assembly. Suggest using a stepped load test: first perform an empty running in with 30% injection pressure to check the fit of each moving component; Gradually increase to full load operation and monitor parameters such as temperature rise and vibration. Precision molds also need to undergo mold flow analysis verification, by collecting real-time filling pressure and cooling data through sensors to optimize the process window. The case of an automobile lampshade mold shows that after 72 hours of continuous dynamic testing, the delay time of the thimble is adjusted, so that the yield of the product is increased from 92% to 98.5%.
Every step of injection mold assembly, from part cleaning to system integration, is a microcosm of precision manufacturing.


